Monday, January 24, 2011

Whole Wheat Crackers (easy!)

A nutritious guilt-free cracker that includes raw carrot pulp. You could substitute another raw vegetable, like broccoli, as long as it goes through the food processor to make it pulpy fine.

3 1/4 C. whole wheat flour
1/2 t. onion powder
1/2 t. garlic powder
1/4 t. cayenne pepper
1 t. Redmond sea salt
1/3 C. olive oil
1 C. water
1/2 C. raw carrot pulp (pulverized in the food processor)

Stir dry ingredients together in a bowl.  Add olive oil, water, and carrot pulp and mix together.  Roll onto 2  greased cookie sheets, keeping the dough even, and mark with a spatula into cracker size pieces.  Prick each cracker with a fork and sprinkle lightly with salt. Bake at 350 until light brown, about 20 min.  Watch them so that they do not burn.  After the oven is off for 10 min, return the cookie sheets for a few minutes to crisp them more.  Great with guacamole or bean dip, salsa, or soup!

Sunday, January 9, 2011

No-dairy Seed Cheese from Rejuvelac

Seed cheese made from the seeds in the picture on the previous Rejuvelac post.  No dairy in it.

You need 1 C. raw sunflower seeds, 1/2 C. each raw sesame seeds, almonds, and pumpkin seeds.  I have substituted other nuts and the recipe still worked.  Put these in your food processer.  Add spices to your taste.  I used raw garlic, cumin,  a little cayenne pepper, onion powder, savory, and oregano, as well as Brags Liquid Aminos which you can get from the health food store.  Add the  rejuvelac to almost cover. Process and place in the corner of a clean pillowcase, which you will want to trim down to make it manageable.  Tie above the seed cheese so that you can hang it up above a bowl or above the sink.  It will drip a little.  Leave it there for 24 to 36 hours.  Store it in the fridge, of course.

This is wonderful on just about anything.  I used in on my homemade mud-oven personal pizza, and it was great.  It is good on salad, stirred into soup, and even spread on toast or whole wheat crackers.  Go to thesteeple kitchen.com if you want to see an excellent video of this whole process.

Lola

Get your enzymes and probiotics with REJUVELAC (sprout lemonade)!


The lemony taste is from the culturing and fermenting of sprouted wheat.  It is a bit sour, like yogurt, but should not smell foul like anything rotten!  We like to add some to our smoothies in the morning, or to make seed cheese with it.  It has a reputation for adding tons of little helpful bacteria and enzymes to the intestines.
The directions are long, but it is really very simple!

To make a small batch, soak 1/2 C. of whole wheat seeds/"berries" (which you can get from the health food store) in water to cover well overnight.  I use filtered water.  Rinse and drain the wheat and put it in a sprouting tray or a quart jar.  If you use the jar, cover the top with cheesecloth or something similar, held on with a rubber band.  Sprouting trays have little holes in the bottom for water to drain out.  For 3 days you will rise the seeds twice a day, and drain each time.  With the quart jar, you need to turn it upside down after rinsing and let it drain, setting it in a bowl in that position to keep it from falling over.

After 3 days of sprouting you take the sprouted wheat and put it in a blender.  Add about 3 cups of filtered water and blend.  Then just pour it all into a quart jar.  Cover with cheesecloth.  Let it sit for 3 days, stirring it twice a day.

Voila!  You have rejuvelac.  Drain it off to drink or use it to make seed cheese. It is recommended to drink small amounts at a time at first until you see how your body handles all this wonderful stuff.  Save the sprouts and use them for your chickens or the compost pile. 

Next comes the recipe for seed cheese.  (Note picture of seeds in the jar.)

Happy rejuvenating!
Lola

Thursday, September 30, 2010

Make Your Own Rice Milk!

When the cost of manufactured almond and rice milk became more than I wanted to spend, I found a recipe for rice milk that works just fine.  I bought short-grain organic brown rice.  In a big pan I  put 4 qts. of water and 1 cup of the brown rice.  Bring it to a boil and turn it down to simmer for 1 to 1 1/2  hours.  Let it cool for a while and then stir it up and blend it, then strain through cheesecloth.  Wring out the cheesecloth when it gets about through and pour the rice milk into a pitcher or jar.  Keep repeating this process until you have finished.   I remove the residue in the cheesecloth and collect it for take-out.  I take it out to the hens, and they love it.  I also rinse out the cheesecloth between batches.  


I add 1/2 T. real maple syrup, 1/2 T. honey, and a dash of Redmond salt to each 2-qt. pitcher.  This makes almost 4 quarts of rice milk.   We use it mostly for smoothies or "hot chocolate" made with carob. It is quite good, and saves a bundle.

Soothing Handmade Soap


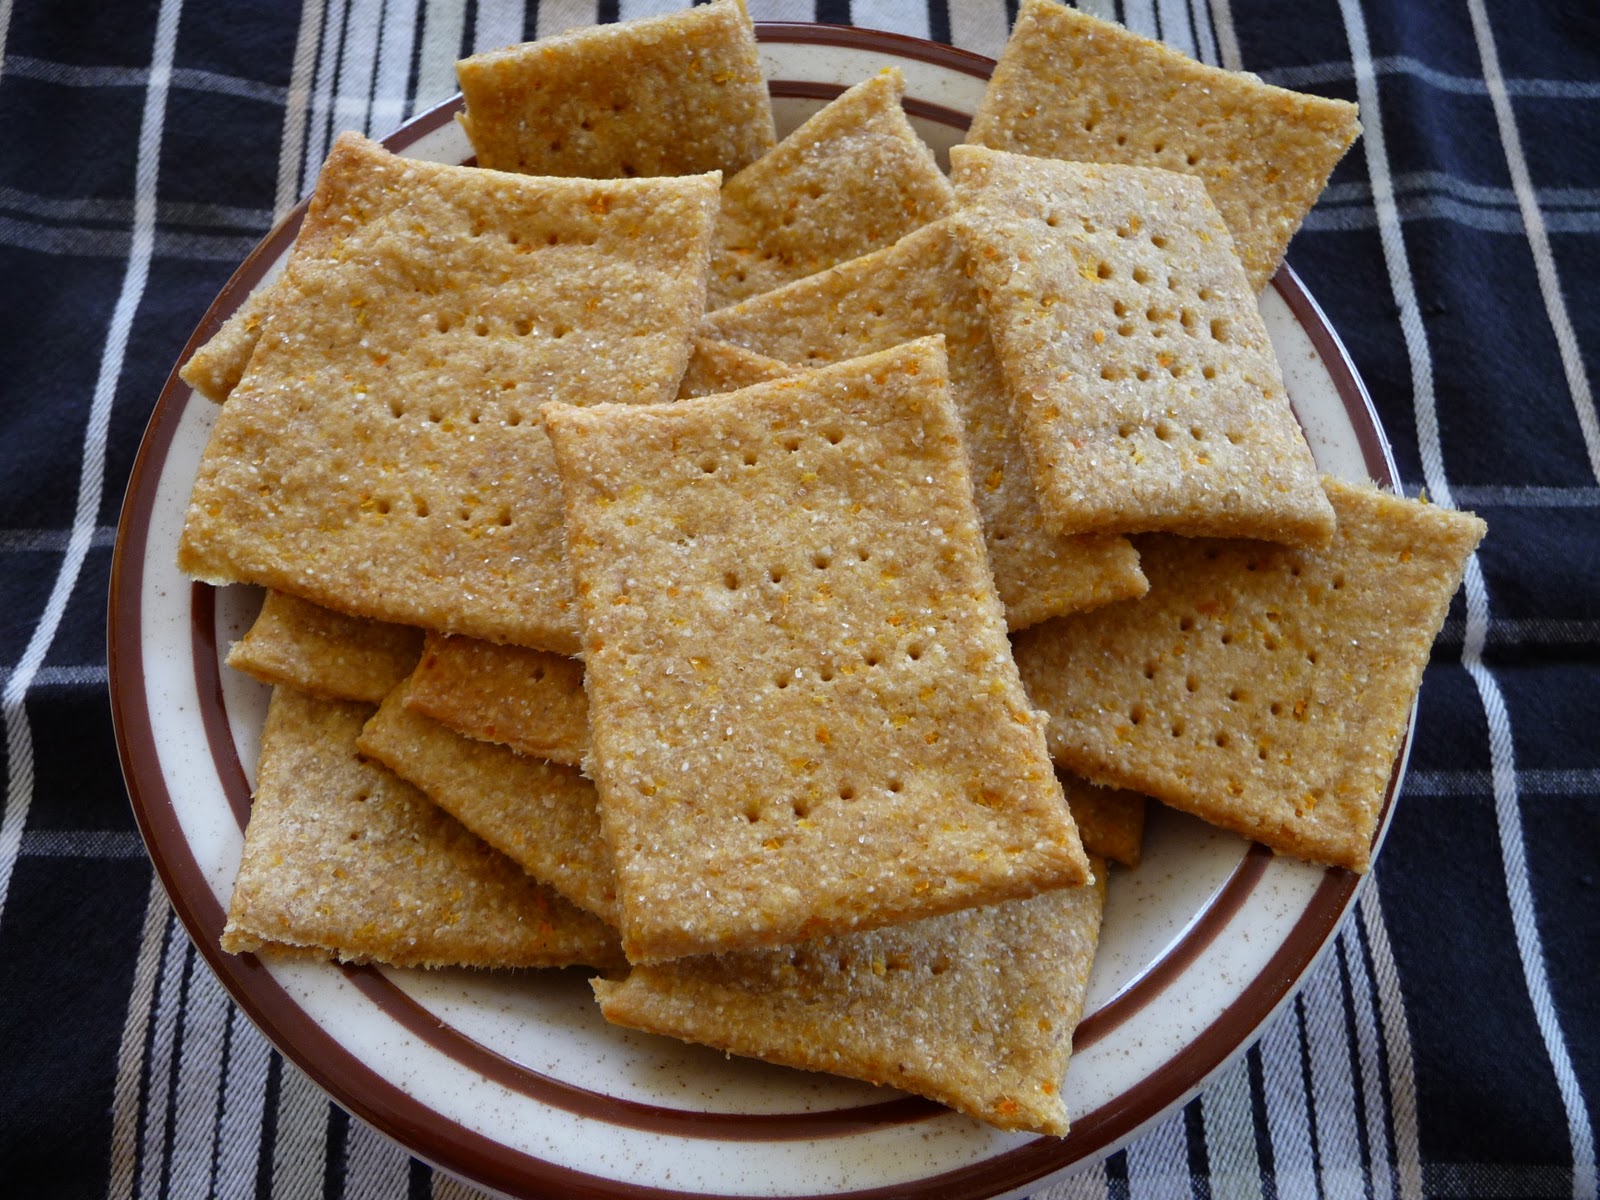
I started making soap several years ago because my sister told me I should!  It contains olive oil and coconut oil, very soothing to the skin and easy to make, once you have the ingredients.  The most fun is experimenting with different scents from essential oils and adding a few extras, like oatmeal, sage or tumeric, and superfatting with oils such as Vit. E and cocoa butter.  If you want to make a trial batch, here is a small recipe for a beginner:  

Wear goggles, and no young children around.  Use rubber gloves and a heavy apron. This is because of the lye being so caustic.  As long as you are careful, do not worry.  Have some ice ready in a basin or large bowl to cool down the lye water.  Your goal is to get the lye water and the oils at approximately the same temperature, and the lye gets very hot when you mix it into the water.  
Use plastic or stainless steel pans and spoons.  You will need an immersible thermometer for the liquids.  
Wearing your goggles and rubber gloves,  

Water:  1 C.                      Mix the lye carefully and slowly into the water.  Mix with a spoon, set in a bowl of 
Lye 1 C.                            ice and put a thermometer in the lye mixture. 

Coconut oil 1 C.
Olive oil  1 C.  
Vegetable shortening 1 C   

Measure the above 3 ingredients into a pan and heat on low until it is melted.  Allow to start cooling and measure temperature with a thermometer.  You can set the pan in a bowl of ice.  

You want the lye mixture and the oil mixture (still separately) to come to about 110 degrees.  While they are cooling, get your mold ready.  You can use a shoe box or a plastic box.  It is easier if the box has straight sides.  Line with a plastic bag, spread out to the corners and sides.  

When you get the temperatures right (and you may have to re-heat one or the other carefully), you carefully add the lye mixture into the oil mixture, stirring as you do so.  Take a wisk and stir the mixture until it traces, which is when you can drizzle a spoon of the mixture across the surface and see a trail.  This does not take too long at all, so get it in the light right so that you can see it well.  Here is where you could add a tablespoon of an essential oil and/or a superfatting oil like cocoa butter, melted already.  They would of course need to be stirred in well. 

When it traces, immediately pour into your mold.  Cover with plastic, then a blanket or towel.  It will be quite hot, and needs to incubate for 24 hours before you take it out of the mold.  At that point you can cut it into bars and let it sit in the air, bars separated, for about 2 weeks.  Then it is ready to use.  The soap goes through a chemical change so that it becomes very soothing (saponification).   


Fall Garden

Kale and Red Onions
Just about anything you would plant in the early spring (Midwest) can be planted in late summer.  You don't want the nights above 70 degrees and you have to allow time for harvest before frost--a little tricky.  However, the hardier crops, like kale and spinach, can be covered with clear plastic to keep them alive all winter.  Healthy eating!

Sunday, September 12, 2010

Skillet Pot Pie


I like versatile recipes that can be used with many different ingredients, depending on what you have available.      It makes for creativity!  But it also saves the time of hunting for a new recipe.  For this main dish pot pie, use any combination of vegetables you have as long as they don't take long to cook, like potatoes, which you would need to steam ahead of time.

This is great for left-over cooked vegetables you have in the fridge and raw or frozen vegetables.  Cut them to bite-sized.  Onions and garlic, minced, will add good flavor too.  Oven at 425 degrees.  Get out your cast iron or oven proof skillet and lightly grease it.  Add the vegetables, and if they look dry, add a can of soup or canned vegetables, or make a white sauce using flour or cornstarch (recipe on the box). Season with whatever spices you like, such as curry, basil, marjoram, cumin, cilantro, parsley, garlic and onion powder, a dash of cayenne, etc.

Top with any biscuit, cornbread, muffin, or tortilla recipe. You can either drop it by spoonfulls to make a drop-biscuit type of topping, or spread it all over the top of the vegetable mixture.  Bake about 20 min. and sprinkle with a little cheese, some nuts, and serve with salsa or olive oil/vinegar dressing.

For this skillet pie pictured: My veggies were tomatoes from the garden, broccoli, steamed potatoes, onions and garlic.  The tomatoes were so juicy I did not need anything for moisture. I used a cornbread recipe for the topping, (from organic corn we grind ourselves and eggs from our hens).  Preparation time and baking took only a half hour total.